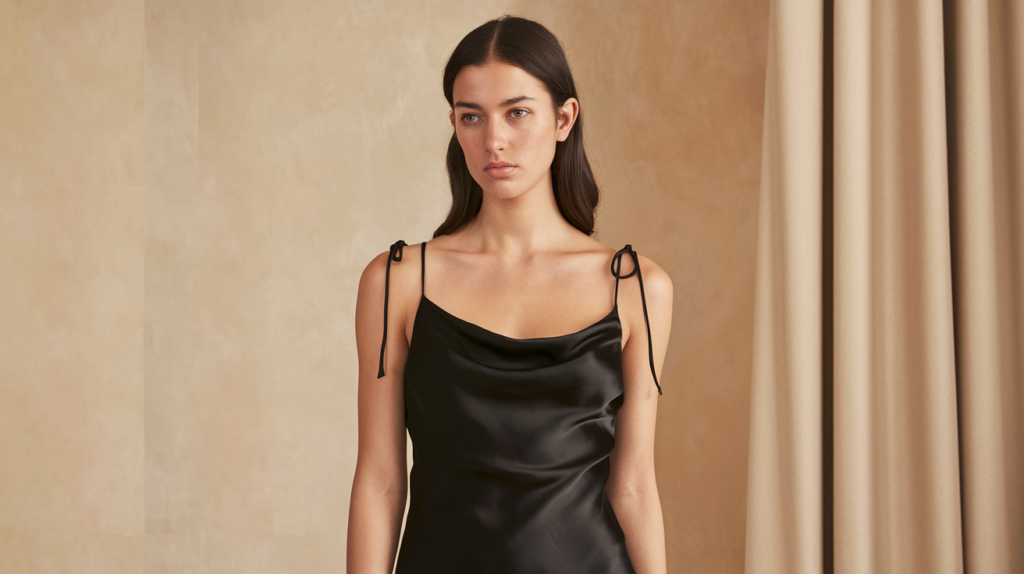

Creating a dress design offers valuable experience to those who want to become fashion designers or simply want to produce clothing visuals. Through fashion illustration designers can show their designs on paper using basic skills during the creation of new collections. Learning to picture and design dress patterns builds your fashion illustration know-how.
This guide shows you how to draw a dress while teaching important approaches to improve your techniques. This guide shows you essential methods to draw dresses properly for both everyday and evening wear.
You Need Basics of Fashion Illustration to Start
- First understand basic rules of fashion illustration before starting dress drawing procedures.
- Fashion sketches serve to express design ideas using art to represent their essentials in clear visual terms.
- The slim figure enables us to showcase the clothing’s outstanding style.
- When drawing fashion illustrations a designer works with smooth lines and precise shapes.
- Your artwork needs to show smooth lines to showcase how clothing fits the body and moves along fabric.
- Though you might not need color at the drawing phase your knowledge on using these elements enhances your dress plans later. Advanced fashion drawings need colored pencils, markers or digital tools depending on your needs.
- Small design features such as buttons, zippers, lace and pleats create more realistic clothing designs in your dress drawings. Notice what the material pattern does when it drapes across and see how the different textures respond.
Step-by-Step Guide on How to Draw a Dress
- I will describe the process you should follow when creating a dress illustration step by step. Through this process you will generate precise artwork that depicts a fashion dress with elite design.
- Begin with the Standard Fashion Body Layout
- The first action is to sketch the basic fashion figure. Taking this step helps you position the dress perfectly on the figure outline.
- Use a straight line to mark the middle of the drawing area.
- Sketch the head at the top. Keep the design size suitable to the body shape.
- Start the body shape under the head and slim down the waist area. Add leg and arm shapes to the diagram yet understand the extended shape will differ from regular human proportions.
- Include drawing marks to show shoulder, waist, hip, and knee positions. These marks show the body regions the dress will cover.
Step 2: Sketch the Dress Silhouette
- Begin drawing your dress pattern after making the essential human body design. You should define what the dress will look like as well as its overall shape during this stage. Here’s how to approach it:
- Select the dress kind as flowing, structured or body-hugging material. Consider how the dress shape matches your body proportions when designing the dress.
- Mark the dress design starting with its neckline descending to the bottom edge. Draw smooth flowing curves to make both the dress and figure fit well together.
- Through your art work consider the neckline types V-Neck, Scoop Neck etc and create designs for the sleeves and waistline. A fitted dress needs gentle curving lines to show the waist and hips. Subtle fullness at the skirt will give a dress graceful movement.
Now draw all special details onto the basic dress design.
- Since the dress outline exists we can start adding key details that make it realistic and captivating. Check all parts of the dress such as the surface pattern and trims.
- Neckline and Sleeves: Add the details of the neckline and sleeves. What sleeve type does it have with its neck style? Watch how each part impacts the complete dress design.
- Draw out pleats, ruching and folds carefully since they provide texture to the design. Dressing fabric naturally folds to cast shadows on the surface so showing these details makes the drawing more dimensional.
- Embellishments: Think about any details such as lace, buttons, zippers, or beads. Mark attachments that upgrade the dress’s appearance through accurate line work. When the dress features lace trim use thin lines to show its fabric texture.
Step 4: Refine the Drawing
- Keep polishing your lines while making the dress appear defined at this point. Pay close attention to perfecting both the body lines and the fabric pattern of the image.
- Remove all additional marks to show only the basic shape of the dress and figure.
- Let the fabric lines follow the body contours of the dress design without breaks. The material should settle comfortably upon the body form.
- Apply faint shading to show how fabric moves smoothly over body parts. Darken the areas on the fabric that create folds and capture lights in shadow. The technique boosts the dress’s fullness in design.
You can include color and texture if you want (Step 5).
- When you want your drawing to appear precise and genuine you should add color elements. This is your opportunity to create your dress with different materials to test out their effects.
- Apply the selected dress color to the drawing design. Pick your preferred drawing tools since you have three options of colored pencils markers or digital tools.
- Design the fabric textures by using methods such as smooth passes with satin and silk patterns or rough effects with denim. Apply consistent strokes when painting silk fabric yet introduce texture and cross-hatch strokes to portray denim material.
- Mirror the fabric’s shape by applying shadows and highlights on areas that light touches. This drawing method will make the illustration seem more real.
Tips for Drawing a Dress Like a Fashion Designer
- Compare Actual Fashion Illustrations and Garments to Know Fabric Flow Patterns.
- Practice different dress designs including casual and formal outfits to understand their impact on the body shape.
- When you need clarification look at reference images as they will help you develop your drawing steps.
- Try various color options in your work without being cautious about it. Use bright or faint color choices to add color or create professional style in your design.
- Create fashion art through strong lines because reliable illustrations show up in the finished design
Conclusion
Drawing a dress brings great enjoyment to those who are passionate about fashion illustration. Consistent practice and determination help you design sketches that show your original concepts perfectly. Understanding how to draw a dress lets you use design lines to express your fashion concepts whether you are doing it for pleasure or professional work.